Embarking on a filmmaking journey can be both exhilarating and daunting, especially for beginners. The world of film is filled with creativity, but it also requires meticulous planning and organization. One of the most effective tools to help newcomers navigate this complex landscape is the storyboard. In this article, we’ll explore how beginners can kickstart their filmmaking journey using storyboard tools, ensuring a smoother path from concept to screen.
What is a Storyboard?
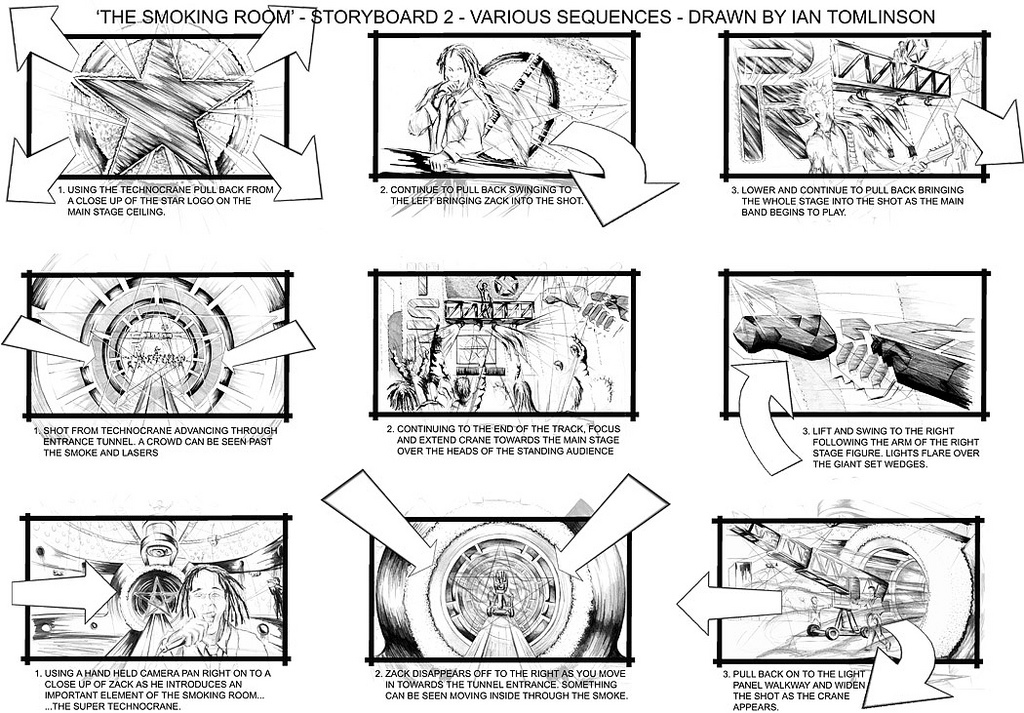
A storyboard is a visual representation of a film, consisting of a series of illustrations or images that depict each shot in a sequence. It serves as a blueprint for filmmakers, outlining how scenes will unfold, the camera angles to be used, and the overall flow of the story. By creating a storyboard, filmmakers can visualize their project and make necessary adjustments before production begins.
Why Storyboarding is Essential for Beginners
- Visualize the Narrative: For beginners, it’s crucial to see how their ideas translate visually. Storyboarding helps them understand the pacing, transitions, and the emotional tone of each scene.
- Enhances Communication: Whether working with a small crew or involving actors, storyboards facilitate clear communication. They ensure everyone is on the same page regarding what the film will look like.
- Saves Time and Money: Planning scenes in advance minimizes mistakes during filming, leading to more efficient shooting days and reduced costs. This is especially vital for beginners who may have limited resources.
- Boosts Creativity: Having a visual plan can inspire new ideas. As beginners work on their storyboards, they may discover creative angles, shot compositions, and transitions they hadn’t considered before.
Getting Started with Storyboarding
1. Choose the Right Storyboard Tool
The first step in storyboarding is selecting the right tool. There are many options available, from traditional pen-and-paper methods to digital tools that simplify the process. For beginners, using a storyboard creator tool can be incredibly helpful. These tools often come with templates, drag-and-drop features, and the ability to add notes, making the process intuitive and efficient. A great option to consider is the Best storyboard creator tool for beginners, which combines user-friendliness with powerful features.
2. Define Your Story
Before diving into the storyboard, it’s essential to have a clear understanding of your story. What is the central conflict? Who are the characters? What message do you want to convey? Spend some time brainstorming and outlining your narrative. This foundational step will guide you as you create your storyboard.
3. Break Down Your Script
Once your story is defined, break it down into manageable segments. Identify key scenes and moments that need to be visualized. Each scene should have its own storyboard frame, depicting the main actions, dialogue, and any important visual details.
4. Sketch Your Frames
Begin sketching out your frames. You don’t need to be a professional artist; simple stick figures and rough outlines will suffice. Focus on the composition, camera angles, and positioning of characters. If you’re using a storyboard creator tool, you can easily drag and drop images or select from a library of pre-made graphics. This can save time and enhance your storyboard’s visual appeal.
5. Add Notes and Directions
Alongside your sketches, include notes and directions that clarify actions, emotions, and dialogue. This is where you can specify camera movements, sound effects, and lighting details. The more comprehensive your storyboard, the easier it will be to communicate your vision to your crew.
6. Review and Revise
Once your storyboard is complete, take the time to review and revise it. Gather feedback from peers or mentors. This step is crucial, as fresh eyes can spot inconsistencies or areas that need improvement. Be open to making changes; flexibility is key in the creative process.
Best Practices for Storyboarding
- Use Simple Shapes: If you’re not confident in your drawing skills, use simple shapes to represent characters and objects. This allows you to focus on composition rather than artistic detail.
- Keep It Clear: Ensure your notes are legible and concise. Use bullet points or short phrases to convey information effectively.
- Stay Organized: Number your storyboard frames and keep them in order. This will make it easier to reference specific scenes during production.
- Incorporate Feedback: Don’t hesitate to seek input from others. Collaboration can lead to new ideas and perspectives that enhance your project.
Utilizing Digital Storyboard Tools
In today’s digital age, many filmmakers are turning to storyboard software to streamline their creative process. Digital tools offer several advantages, including:
- Templates: Many storyboard tools come with built-in templates that can save you time and provide inspiration.
- Collaboration Features: Some tools allow multiple users to work on the same storyboard simultaneously, making it easier to collaborate with team members.
- Export Options: Digital storyboards can often be exported in various formats, making it easy to share with your crew or incorporate into presentations.
The Best storyboard creator tool for beginners often includes these features, making it an invaluable resource for aspiring filmmakers.
Final Thoughts
Starting your filmmaking journey can be overwhelming, but with the right tools and a clear plan, you can set yourself up for success. Storyboarding is an essential step in this process, providing a framework for your narrative and helping you visualize your film before production begins. By leveraging storyboard tools, especially user-friendly options like the Best storyboard creator tool for beginners, you’ll find it easier to express your creative vision, communicate with your team, and ultimately bring your story to life.